
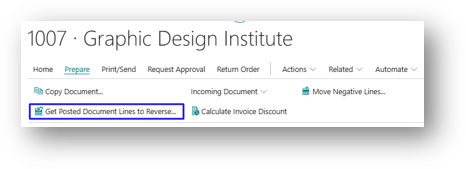
When you return goods to a vendor, the return should be linked to the original receipt. This ensures the items leave inventory at the same cost at which they came in. The Get Posted Document Lines to Reverse action does this automatically on a Purchase/Sales Return Order.
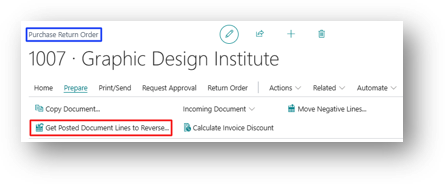
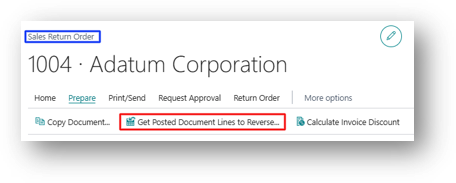
This feature is available on both Purchase and Sales Return order in a same way. For this Article we will run the Process on Purchase Return Order.
How to Use It
- Create a new Purchase Return Order and select the vendor.
- Choose Get Posted Document Lines to Reverse.
- The Posted Purchase Document Lines page opens with the vendor’s posted receipts, invoices, return shipments, and credit memos.
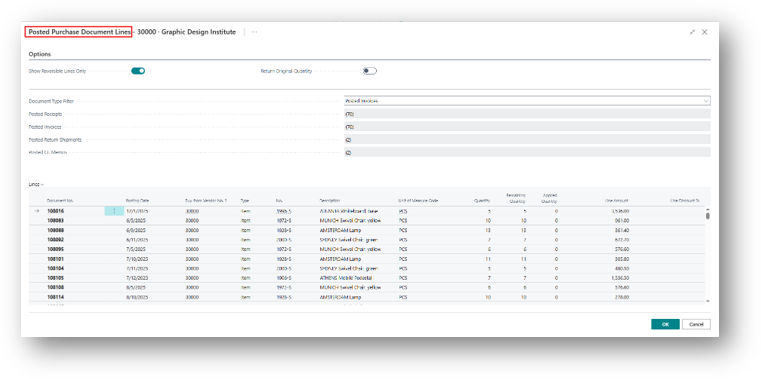
- Few fields on which Discussion is Required:
- Options
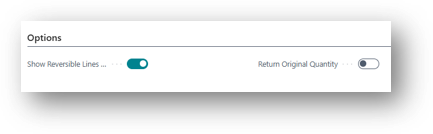
- Show Reversible Lines Only – Refer to this document for more details.
- Return Original Quantity – Refer to this document for more details.
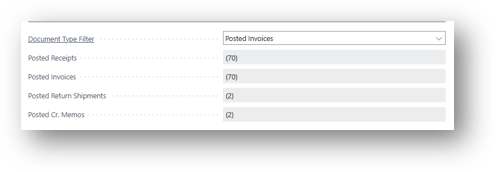
- Select the Document Type, then select the lines you want to return.
- There are 4 documents Options which you can use to reverse the Original Document and against each name there is total number of document count is coming.
Posted Invoices, Posted Receipts, Posted Return Shipment, Posted Credit Memos
- Choose the line from the list.
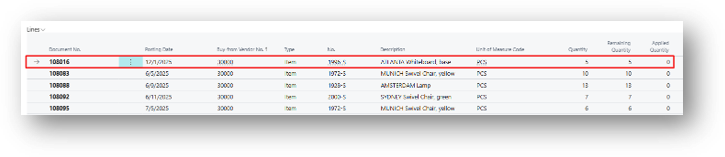
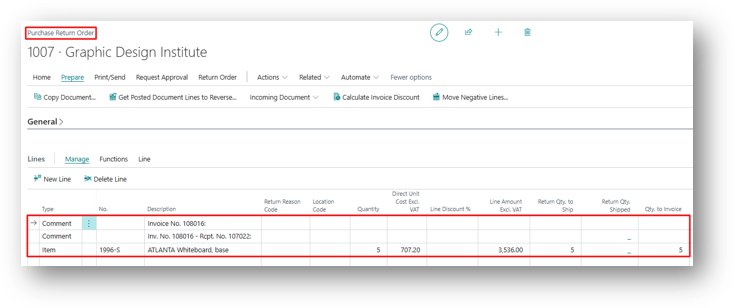
- Choose OK. The lines are added to the return order.
Why It Matters
The Apply.-to Item Entry link to the original receipt is filled in automatically. As a result, the return is posted at the exact original cost and the inventory valuation stays correct. A reference line showing the original document number is also added for traceability.
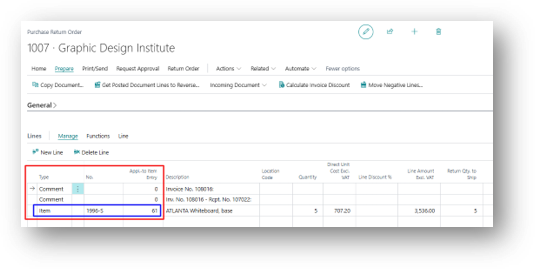
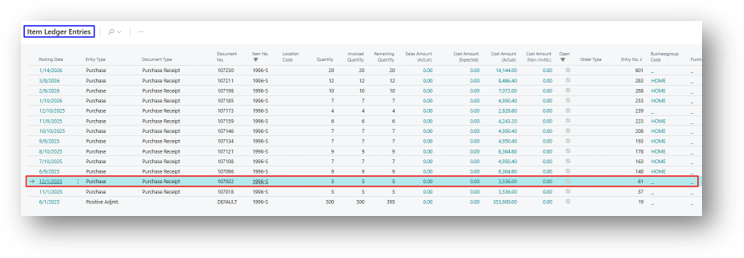
Now if you open this Apply to Item Entry then you can see the detail of that line as well.
Hope so this is Helpful 😃